

STEP 1)
Download all PowerPoint & Photoshop original documents supplied by Command.App.
PowerPoint
- Open your PPT file that was supplied by Command.App.
Confirm you have all necessary fonts, if not please request. - The “Page Setup” is already set to the dimensions needed for export.
Collection items – make your additions or edits and save.
Go to the File tab. Choose Export, and then click on Change File Type. Now click on Save As.
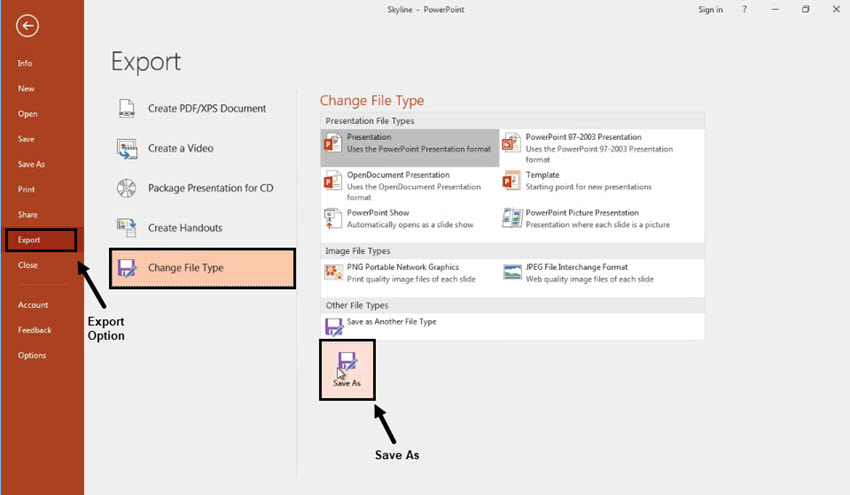
Go ahead and pick out a destination to save those and give it a file name. To save some space, let’s click on Tools and choose Compress Pictures. Let’s make sure the Delete cropped areas of pictures box is ticked. Then, choose Web Resolution to decrease the size of those images.

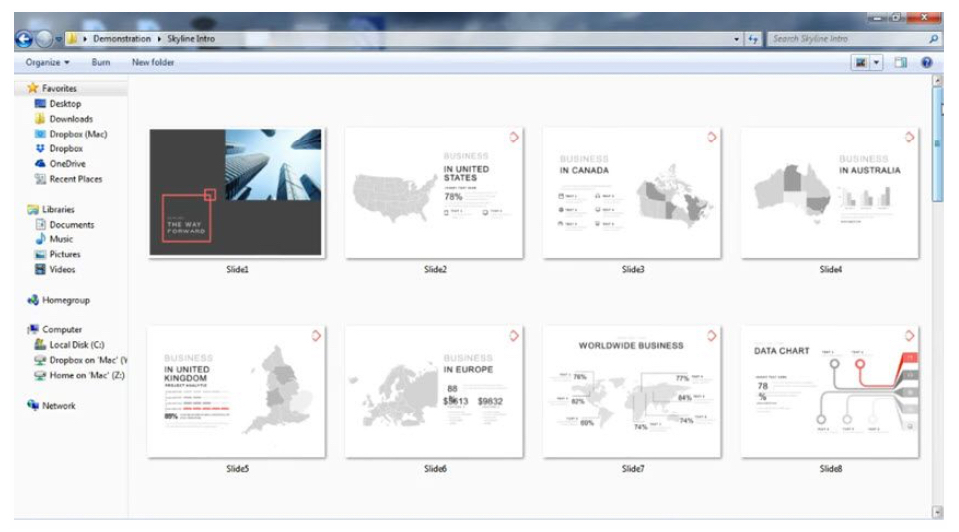
Now we’ll go ahead and hit Save. Go to the folder where we saved our presentation, you’ll see a JPEG file for each and every slide in the presentation.
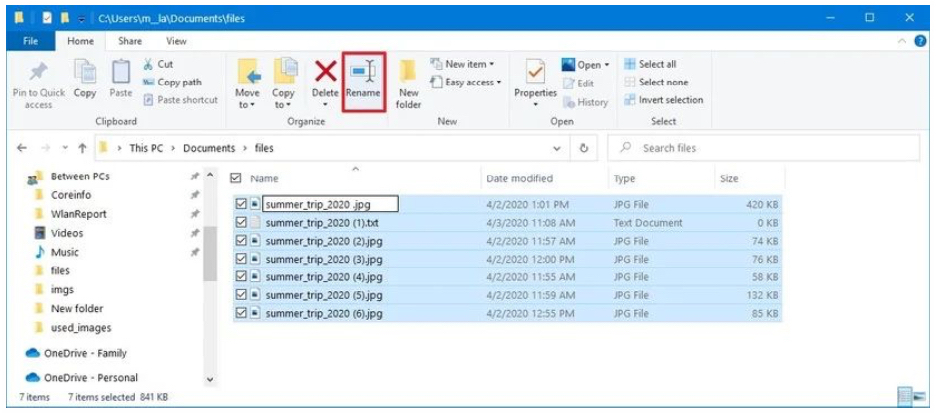
- Since your images are saved out, we want to rename them to keep them organized.
- Open File Explorer.
- Browse to the folder with the files to rename.
- Click the View tab.
- Select the Details view.
- Use Ctrl + A to select all files quickly.
- Click the Rename button
- Once your files are renamed, open the Commander (Builder) and navigate to the Assets panel on the left hand side. Click it.
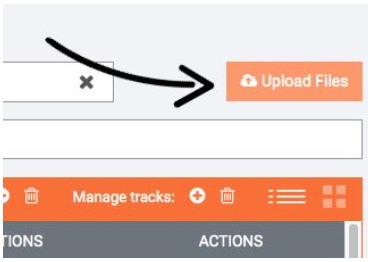
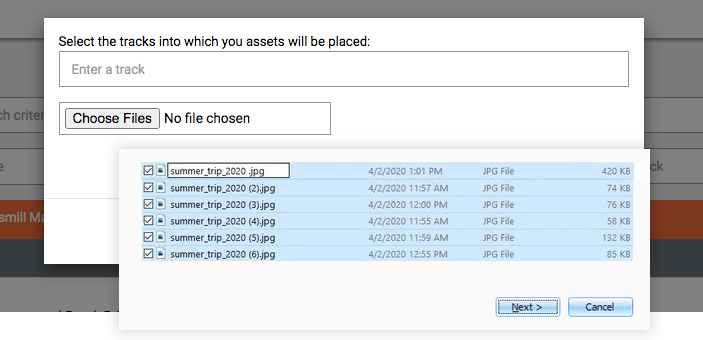
- Now click the Upload Assets button in the top right corner.
- Select your files you want to upload. Then click PROCEED. They will be added to your asset library.
Your files are now uploaded!
PowerPoint – Saving with a transparent background
- In Powerpoint, select all of the components inside your slide.
- Note: The edges of the farthest out images will be the width and height of your saved image.
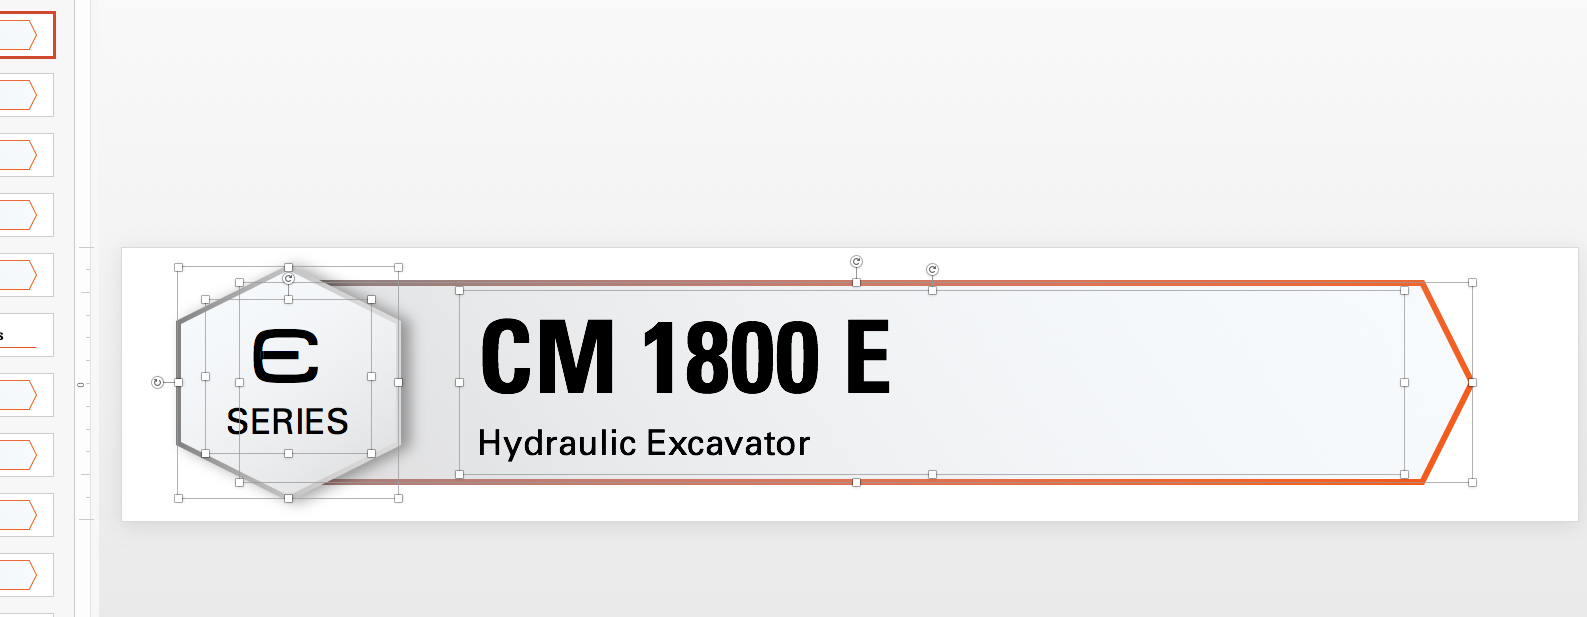
- Right click the area that you want to be visible to the user. (If you click the font area, it will be visible in the saved image, if you don’t the font will not be visible.)

- Select Save As Picture. This will default to PNG which will allow you to have transparent backgrounds.
- Navigate to the area that you want to save your image and click SAVE.
Photoshop
- Open your downloaded files in photoshop and make your edits. Confirm you have all necessary fonts, if not, please request.
- The image dimensions are already set to the correct size for your app.
- If you need a transparent background around your image, please save as a .PNG file.
- If you need it as a standard image, please use the Save For Web capability in photoshop and save out as a JPEG.
- Once your files are saved, open the Commander (Builder) and navigate to the Assets panel on the left hand side. Click it.
- Now click the Upload Assets button in the top right corner.
Now select your files you want to upload. Then click PROCEED. They will be added to your asset library.